Operation Treceability Platform App
Overview
User Manual for Operation Treceability App:
DEVICE CONFIGURATION
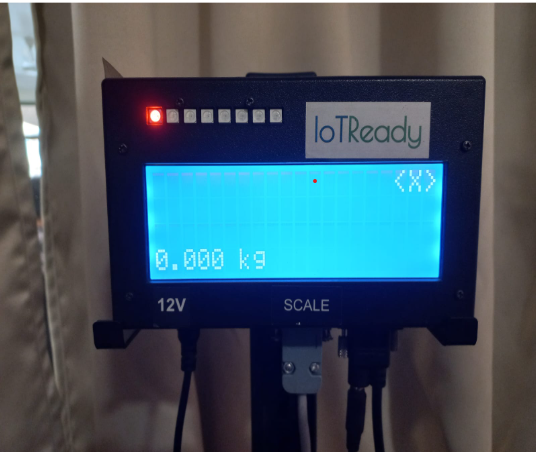
Once the device is assembled, it should look like this.
The “X” on the top-right corner of the device means the device is not connected to the android application.
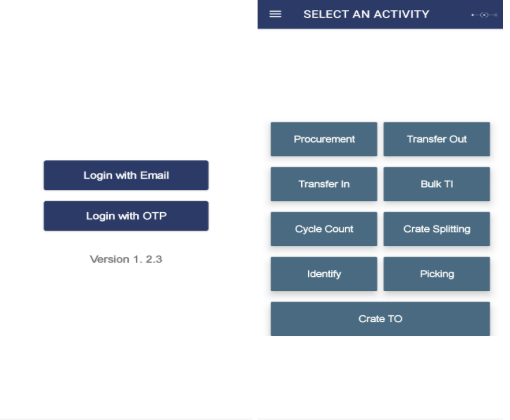
- Open the android application and login.
- Turn on the bluetooth and location of the android device.
- Click on the top right corner icon on the application to connect the android device with the traceability device.
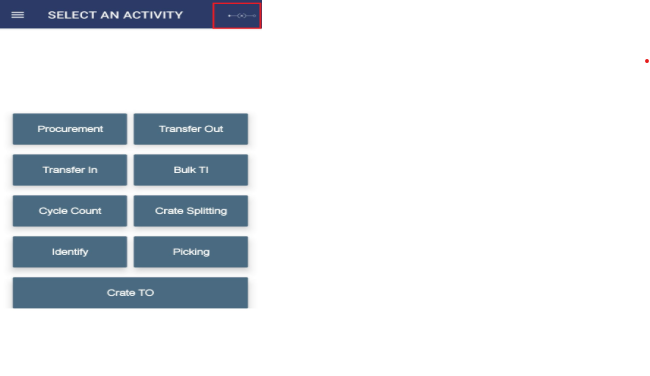
- Scan the QR code present on the top of the traceability device.
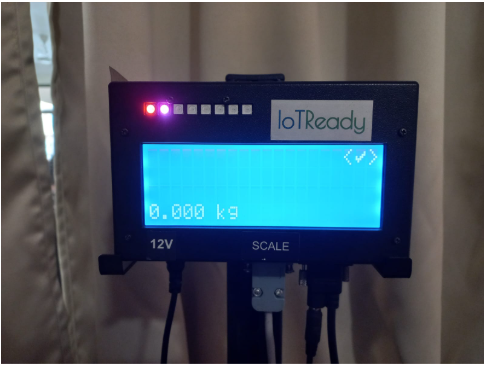
- If the “X” present at the top right corner of the device has changed to the “tick” symbol, the android and device are connected.
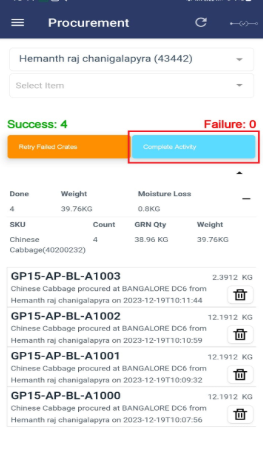
PROCUREMENT
a. To initiate Procurement, select Procurement from the main menu.
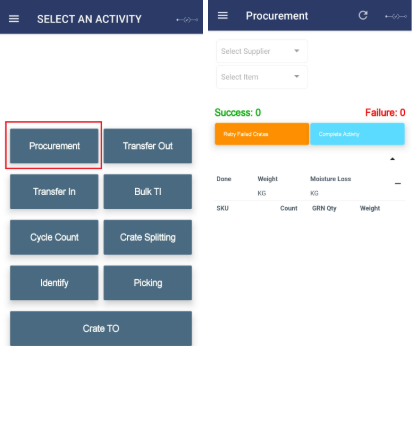
b. Select the required Supplier and Item to be procured.
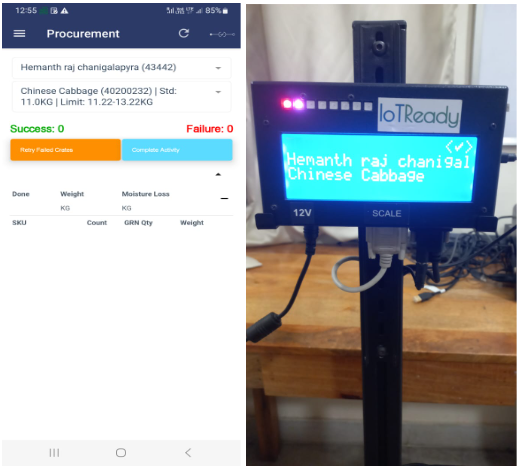
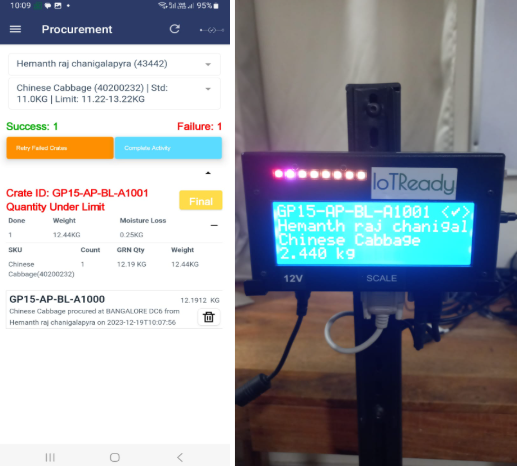
c. Place a crate on the weighing scale and scan the crate ID. Once it is scanned, start putting on the item to be procured into the crate.
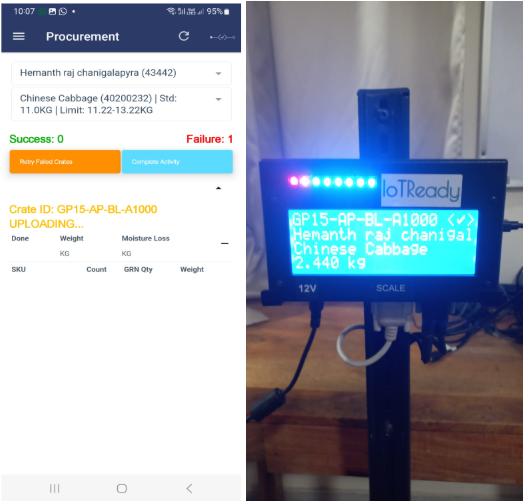
d. Once the weight of the item placed comes between the limit associated with the item, the crate will be procured and will be added to the list.
e. If an error saying “Quantity/Weight under limit” pops up, please put on more weight to reach the acceptable weight for the item.
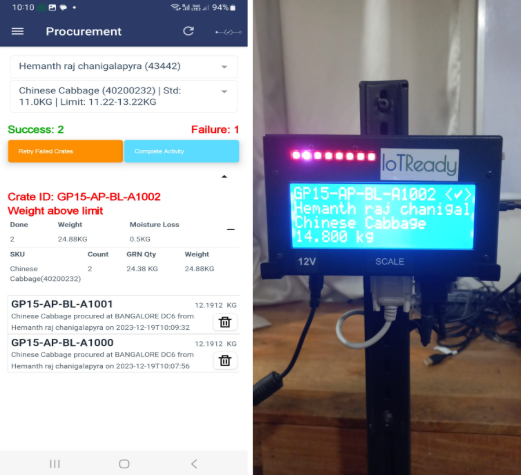
f. If an error saying “Weight above limit” pops up, please reduce the weight placed to make sure it falls under the maximum acceptable weight.
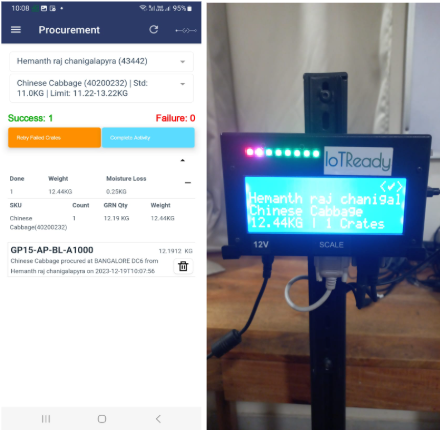
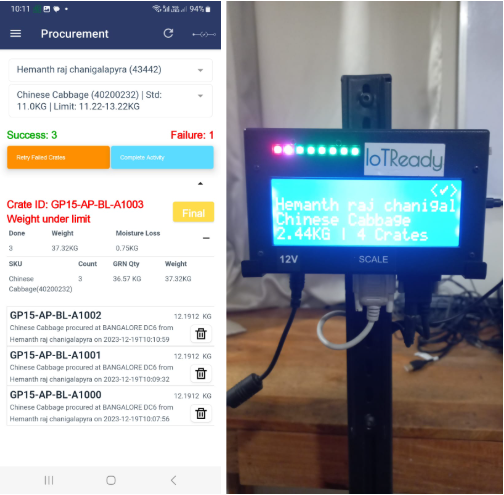
g. If the final crate does not have enough weight to reach the minimum acceptable weight, click on the final button to procure it.
h. If any of the crates failed to procure due to some reasons, click on Retry Failed Crates to procure them again.
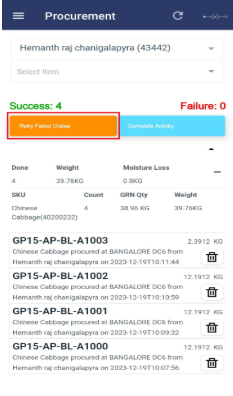
i. Once the final crate is procured, click on Complete activity to complete the current procurement process.
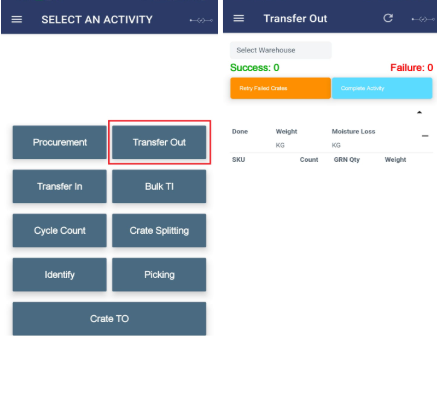
TRANSFER OUT
a. To initiate a Transfer Out activity, select Transfer Out from the main menu.
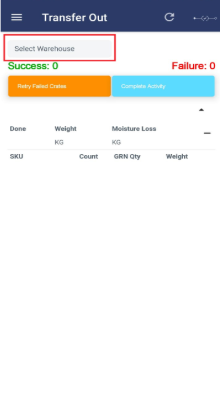
b. Please select the warehouse by clicking Select warehouse.
c. Scan and weigh all the crates to be transferred out.
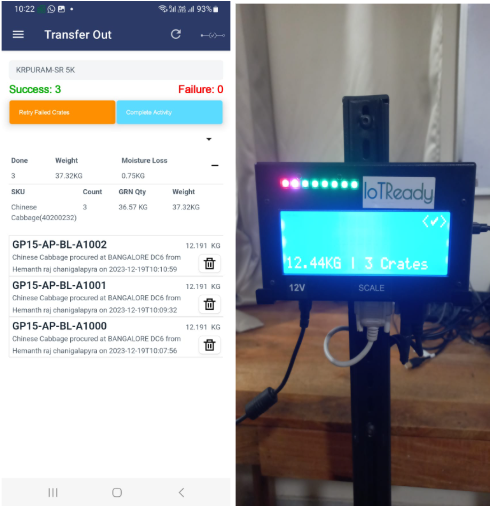
d. Once all the crates are transferred out, click on Complete activity to complete the current transfer out process.

TRANSFER IN
a. To initiate transfer in of crates, select Transfer in from the main menu.
b. Select Labels not needed if not you do not want to print labels alongwith the transfer in or select Labels needed if you want to print labels too.
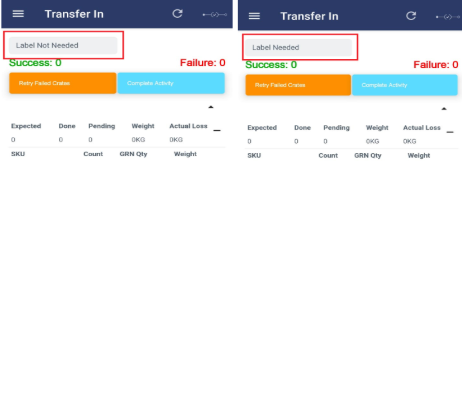
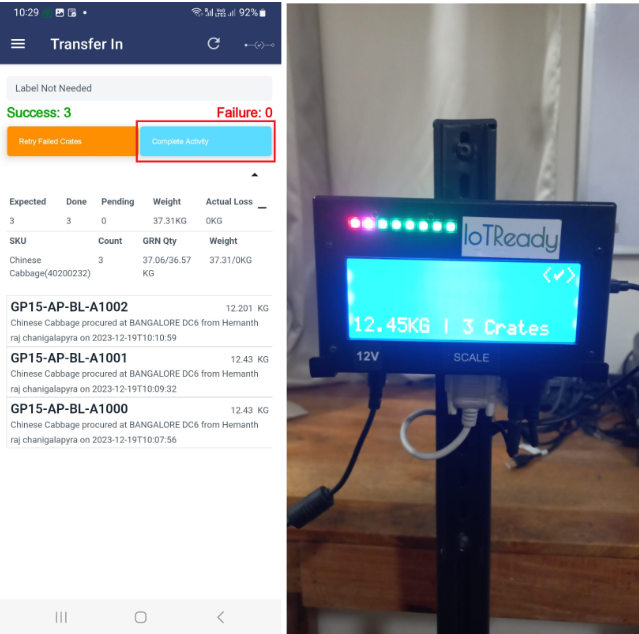
c. Place the crate over the scale.
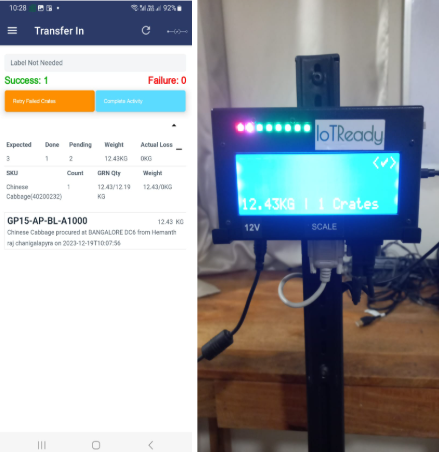
d. Once all the crates have been transferred in, click on Complete activity.
BULK TI
a. To initiate a Bulk TI, click on Bulk TI from the main menu.
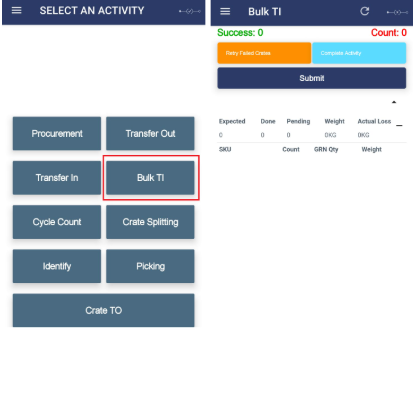
b. Scan a bulk of crates in quick succession. The scanned crates will come on the screen.

c. Put on weight and click on Submit to Transfer in these crates.

d. Once all the bulks of crates have been transferred in, click on Complete activity to complete the Bulk TI.
CYCLE COUNT
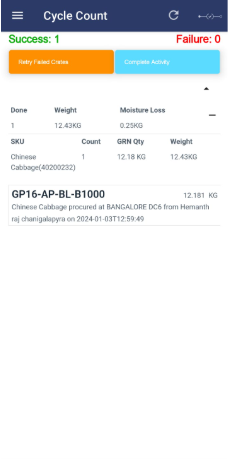
a. To know the changes in the crates, click on Cycle Count from the main menu.
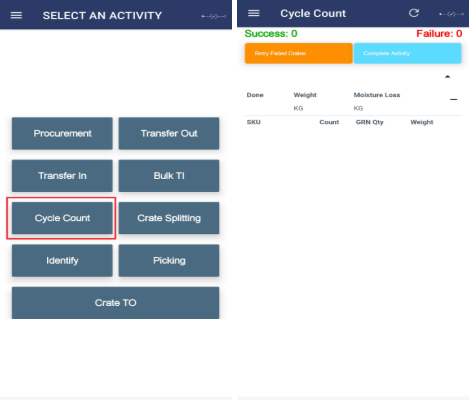
b. Scan the crates to know more information about the crate.
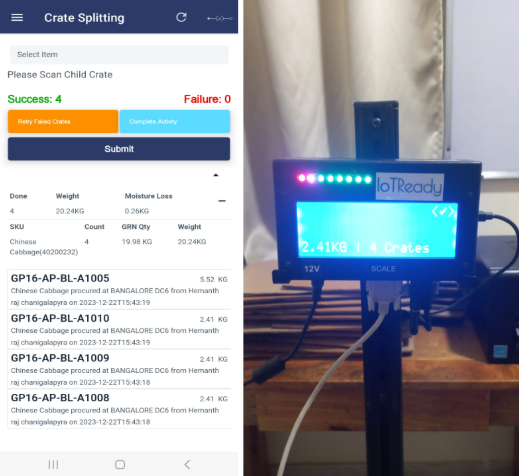
CRATE SPLITTING
a. To initiate crate splitting, click on Crate Splitting from the main menu.

b. Scan the parent crate.
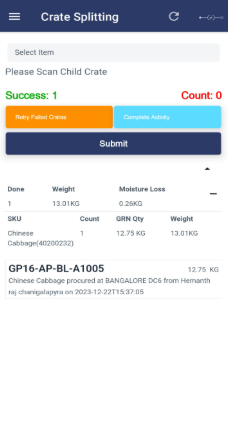
c. Scan all the child crates and click Submit.
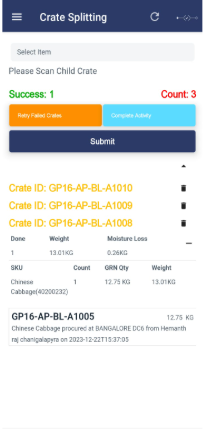
d. Once all the crates are scanned, complete the splitting activity by clicking on Complete activity.
IDENTIFY
a. To know the history about a specific crate, click on Identify from the main menu.
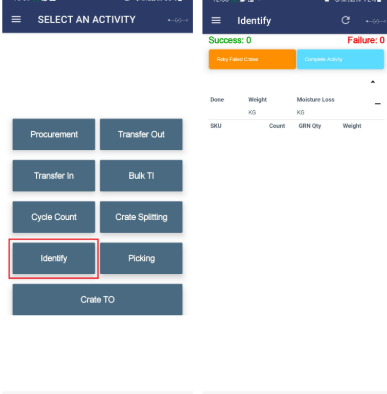
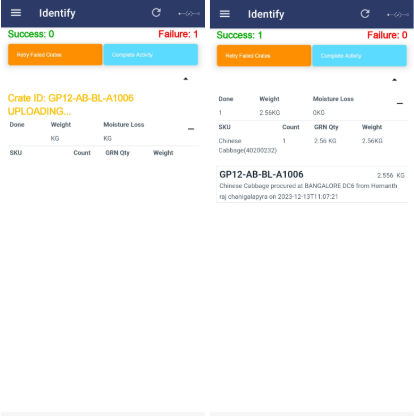
b. Place the crate on the weighing scale to scan it. Once the crate is scanned and weighed, the details of the scanned crate will be shown in the app.
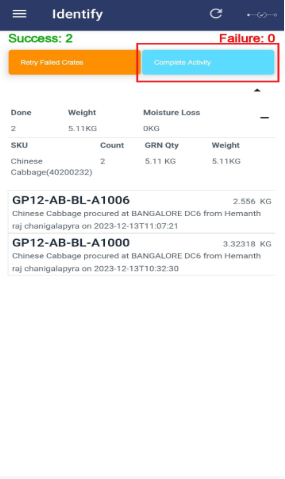
c. Once all the crates are identified, click on Complete activity to end the activity.
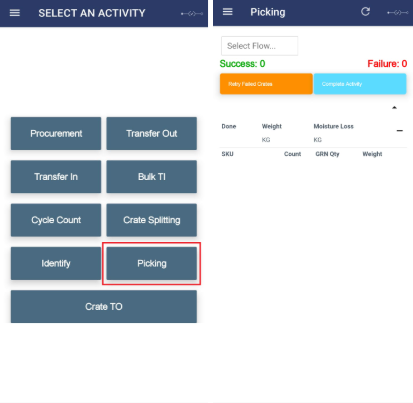
PICKING
a. To initiate picking, click on Picking from the main menu.
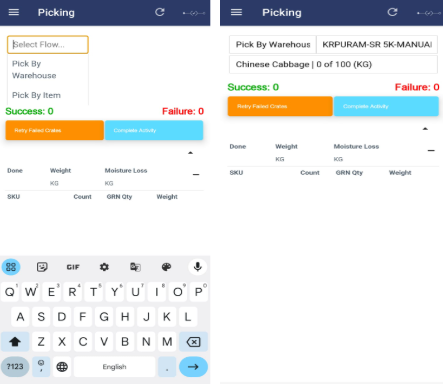
b. Click on Select Flow and select the appropriate picking flow.
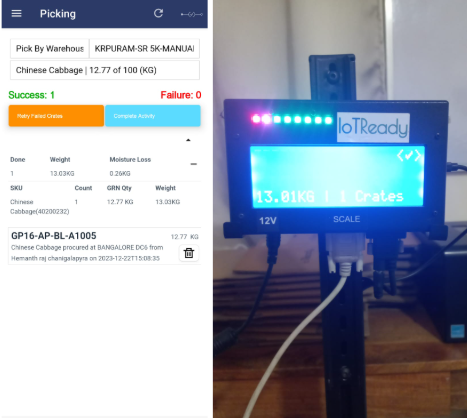
c. Scan and weigh the crate.
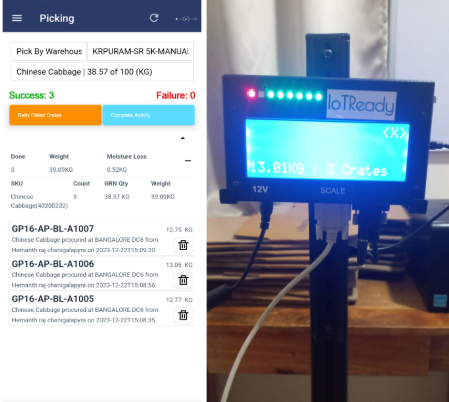
d. Once all the crates have been scanned, click on Complete activity to complete the process of picking.
CRATE TO
a. Crate TO is performed to track empty crates.
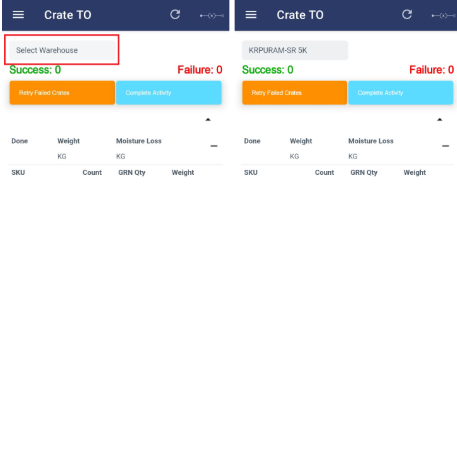
b. To initiate a crate transfer out, click on Select Warehouse and pick the warehouse.
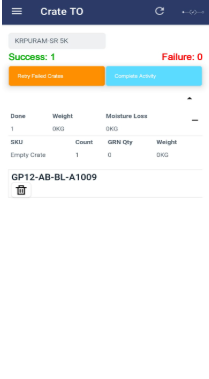
c. Scan the empty crate to be transferred out. Once complete, click on Complete activity.
Note:
If the same crate which has been scanned for some other activity like procurement is scanned under Crate TO, the scanned weight under procurement will be lost.
For any issues, please reach out to us at support@iotready.co.